Department Hub
The Department Hub app is where you manage your FSSID, your department, and your department's software. It also is a central location for opening other apps.
- Manage Your FSSID
- Update Department Information
- Manage Personnel
- Install Fire Station Desktop
- Configure Fire Station Settings
Manage Your FSSID
Reset Your Password
You can reset your password from the sign in screen.
- On a browser, go to https://hub.firestationsoftware.com.
- Click "Sign In".
- At the bottom of the page, click the link next to the text Forgot Your Password?
- Enter the email address used for your FSSID and click "Reset Password"
- Look for an email with the subject Reset your Fire Station Software ID (FSSID) password and click the reset link in the email.
- Enter a new password, confirm it, and click "Reset Password" to finalize the change.
If you are a department manager, you can also reset passwords for any member of your department.
- On a browser, go to https://hub.firestationsoftware.com.
- Sign in with your FSSID.
- In the left menu, select Members in the Personnel section.
- Select a person from the list and click "Send Password Reset".
- Look for an email with the subject Reset your Fire Station Software ID (FSSID) password and click the reset link in the email.
- Enter a new password, confirm it, and click "Reset Password" to finalize the change.
Update Your Personal Information
You can change your personal information from the Department Hub.
- On a browser, go to https://hub.firestationsoftware.com. You may need to sign in with your FSSID.
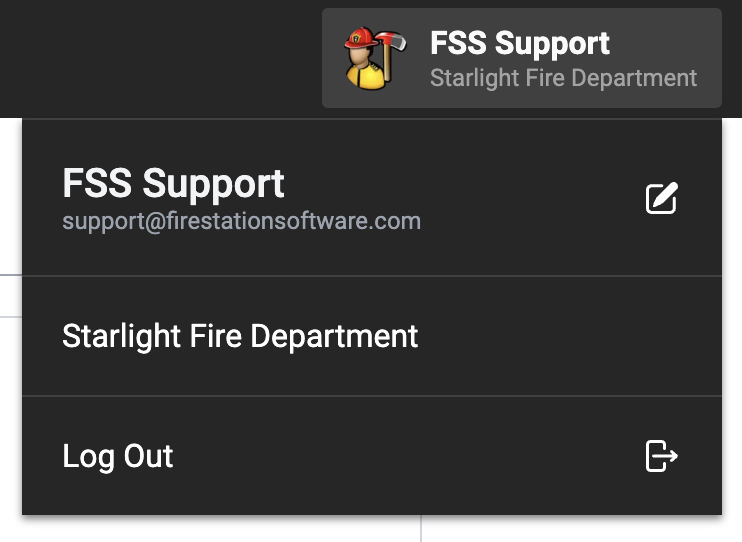
- At the top right, click your name/department name to open the menu.
- Click your name/email to open the FSSID edit form.
- Make any changes to your FSSID.
- Click "Save".

If you would like to change your email associated with your FSSID, please contact us at support@firestation.com
Update Department Information
You need Department Manager permissions to make these changes
- On a browser, go to https://hub.firestationsoftware.com and sign in.
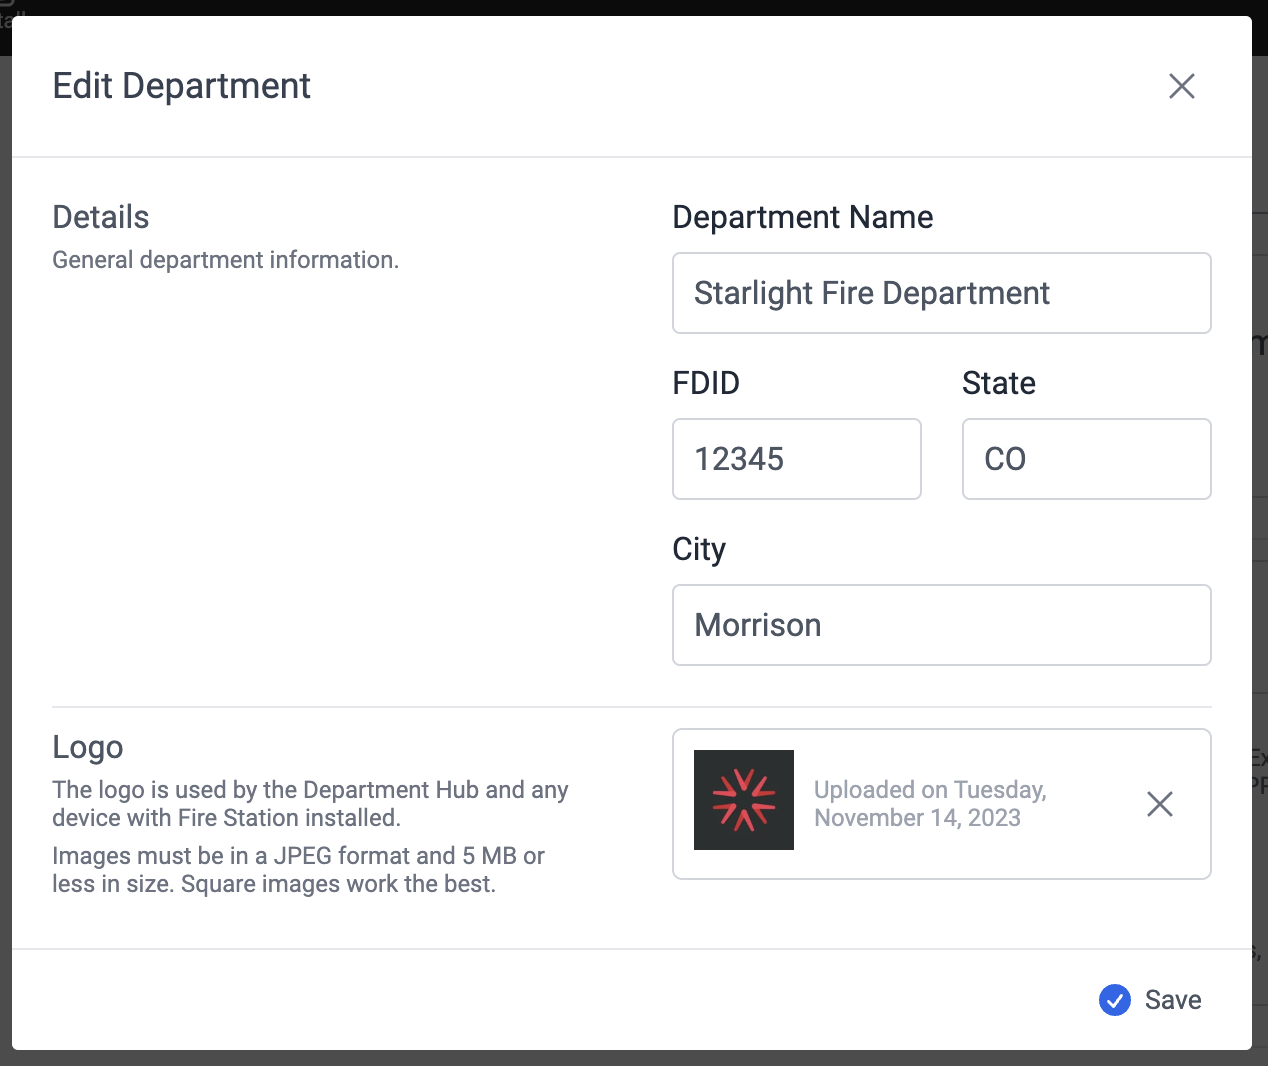
- In the Details section of the home page, click the "Edit" button.
- Change your department's information and click "Save"
Manage Personnel
Invitations
You need Department Manager permissions to make these changes
Invite People to Your Department
You can invite new members to your department by sending an invitation.
- On a browser, go to https://hub.firestationsoftware.com. You may need to sign in.
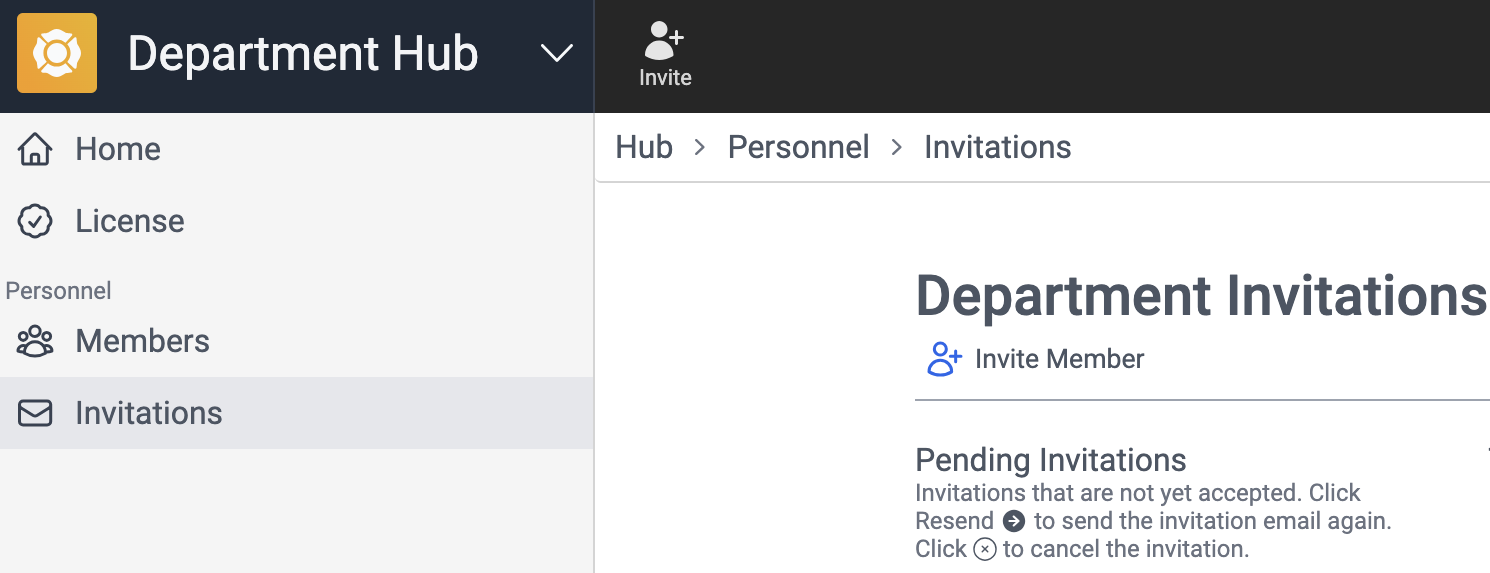
- In the left menu click Invitations in the Personnel section.
- Click "Invite Member"
- Alternatively, click the "Invite" shortcut in the top bar.
- Enter one or more email addresses, check off the permissions you want to assign, and click "Send Invitation".
Invitation links last for 7 days. Invitations can be resent, even if they have expired, and the expiration will be extended to 7 days from the update.
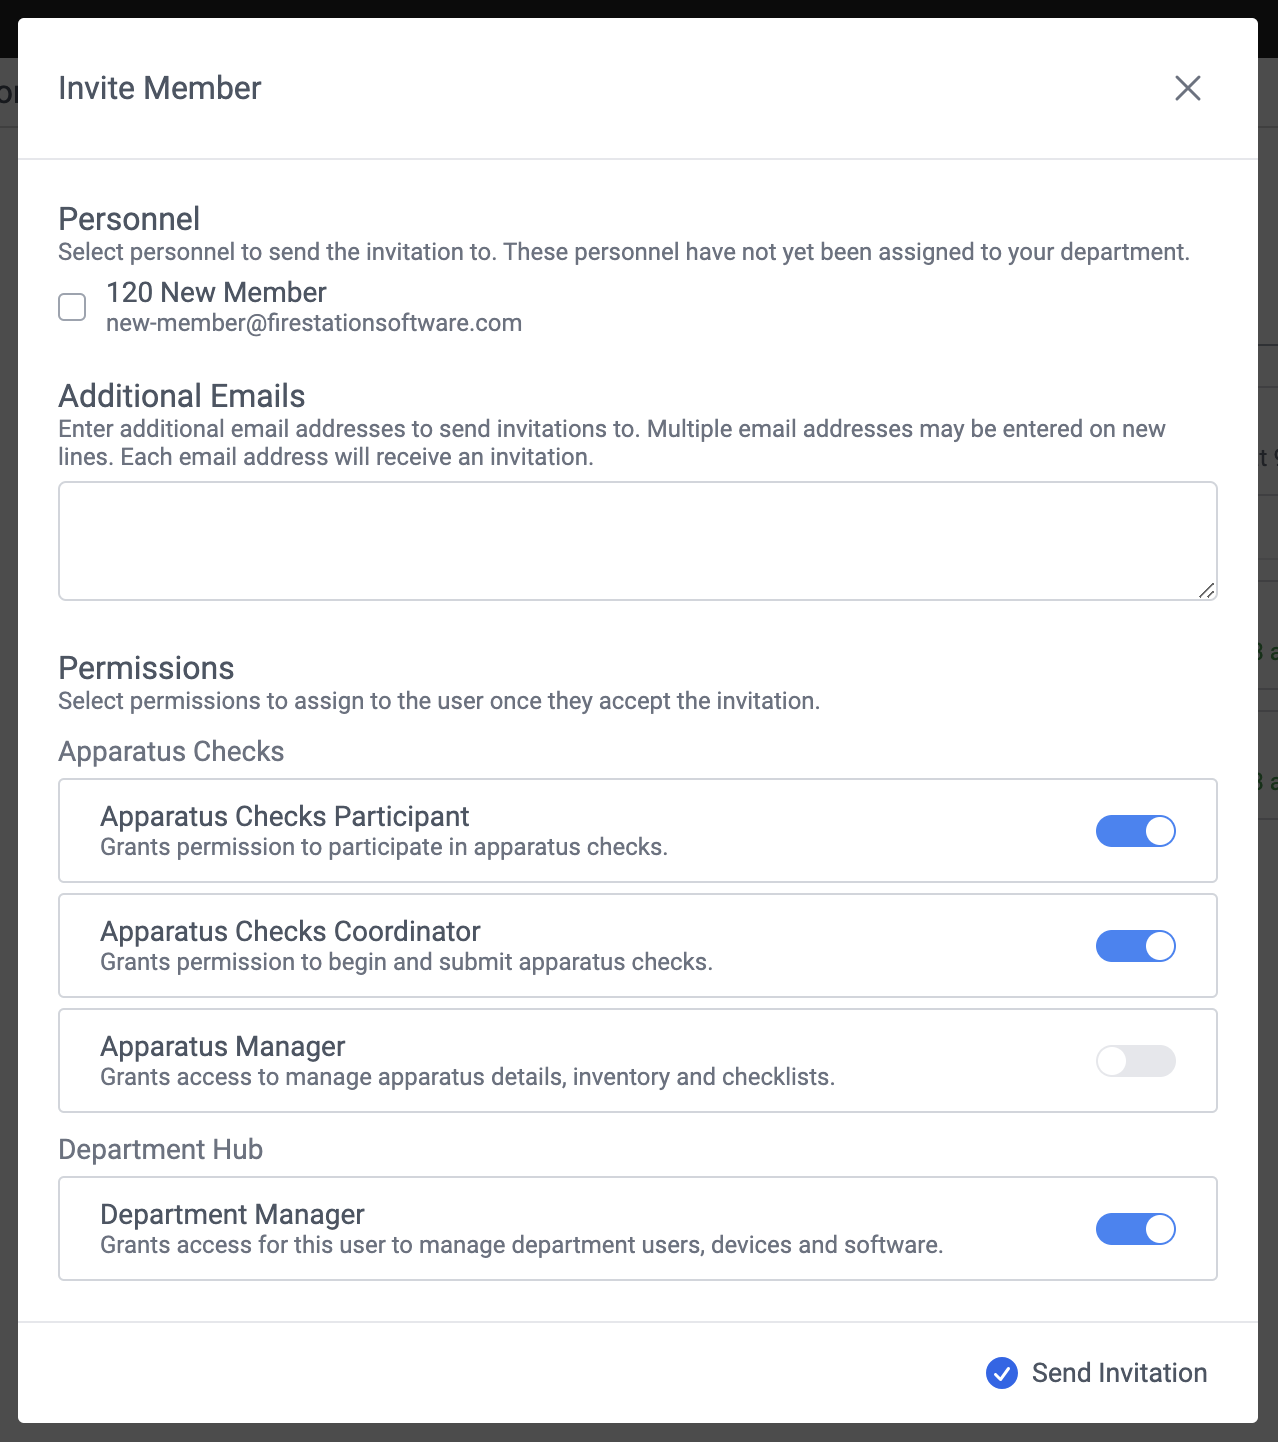
If you have Cloud Data Hosting, you can send invitations by selecting a Fire Station firefighter. The firefighter must be active, have an email, and not be linked to an FSSID.
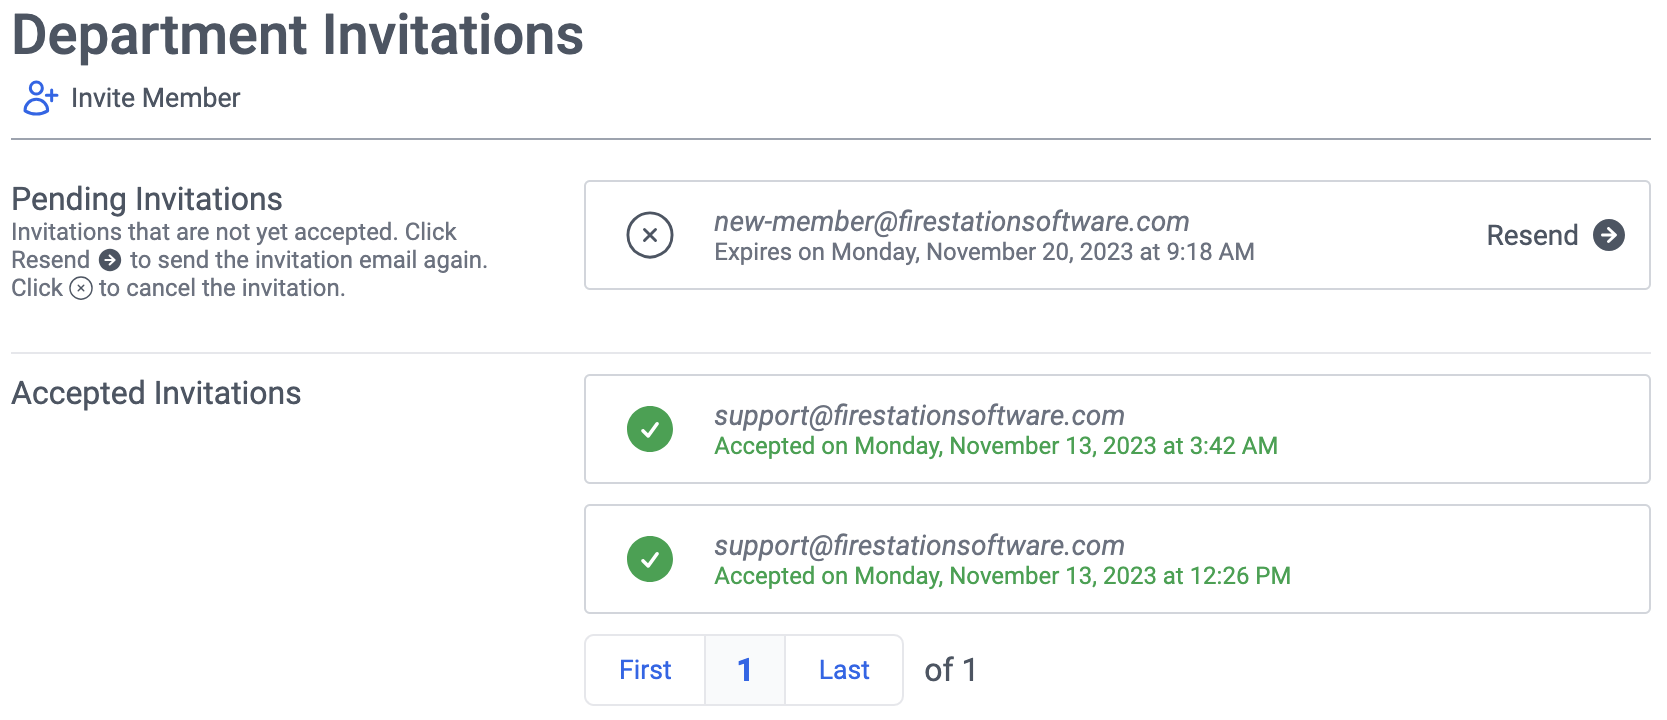
Resend or Delete Invitations
Unaccepted invitations are listed in the Pending Invitations. To resend an invitation, click the "Resend" button on the right, and to delete an invitation, click the "X" circle icon on the left.
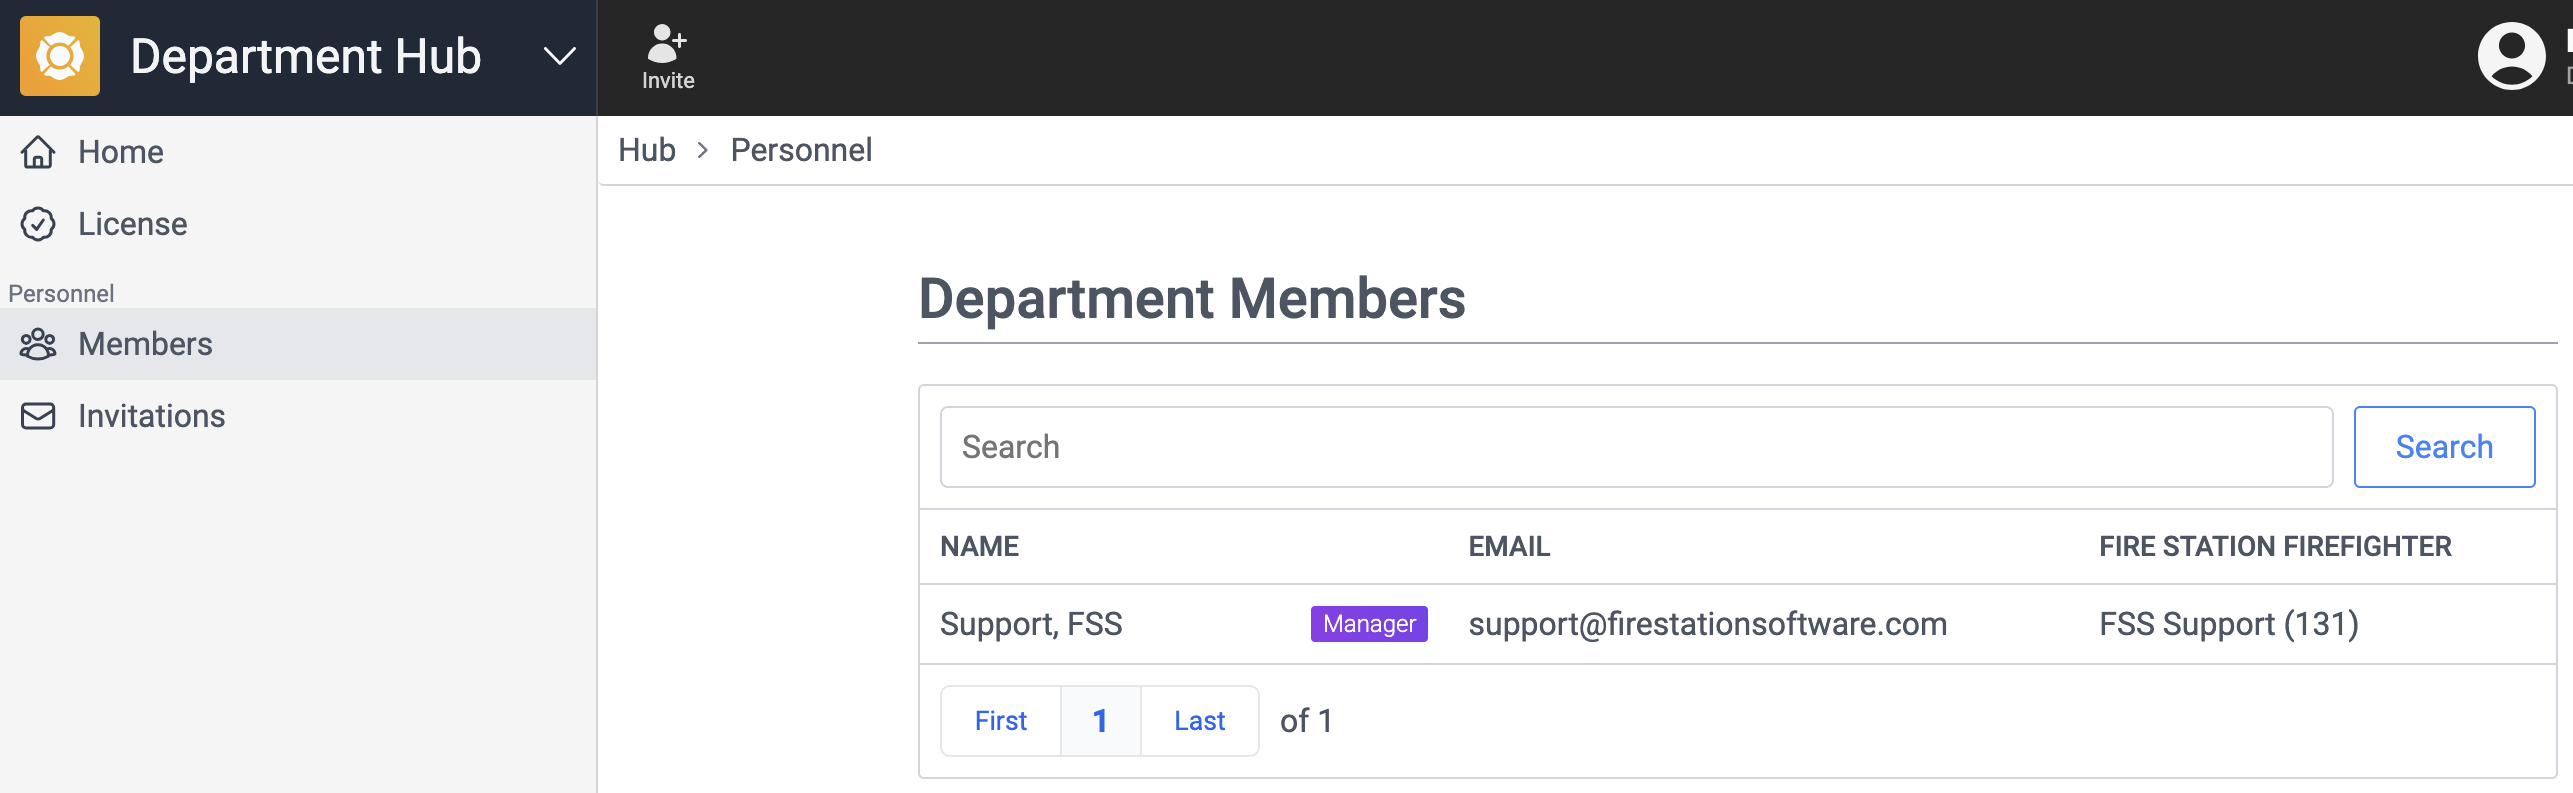
Department Members
You need Department Manager permissions to make these changes
Managers can browse the list of members and search for them by name or email. To manage a member, click one of the rows in the search results.
View a Member
- On a browser, go to https://hub.firestationsoftware.com. You may need to sign in.
- In the left menu click Members in the Personnel section.
- Use the search box to filter by name or email.
- When you have found the person you are looking for, click in their row to view their detailed information.
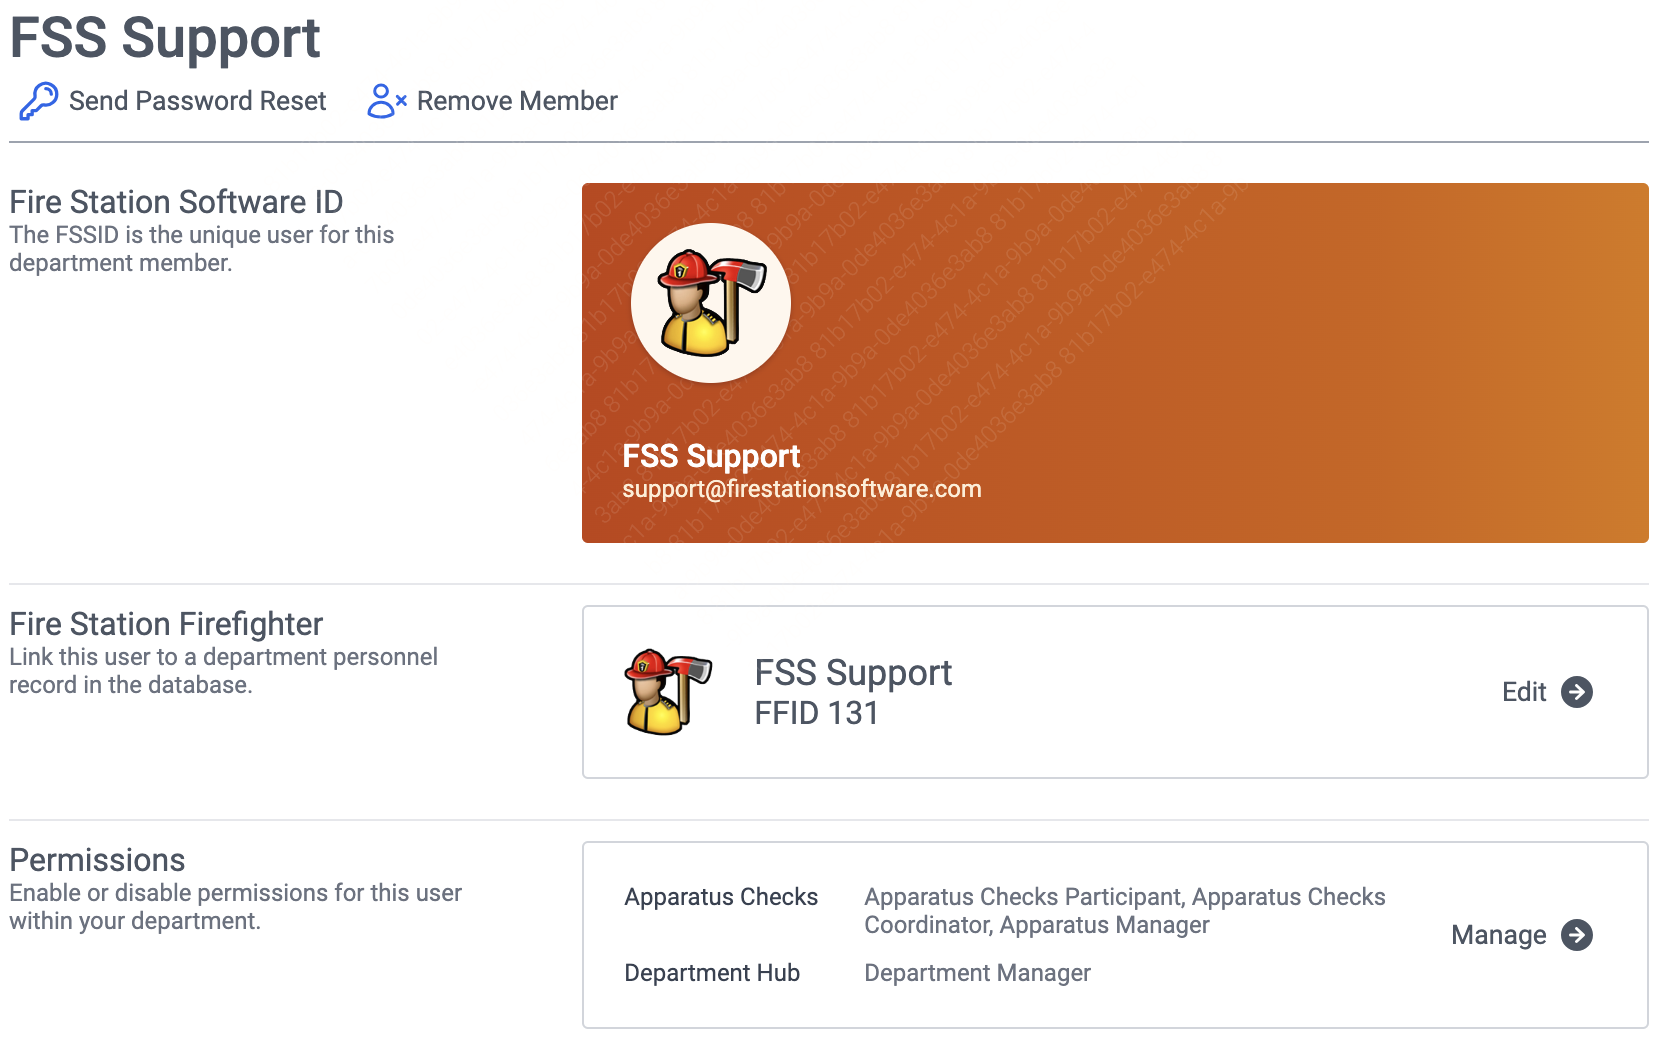
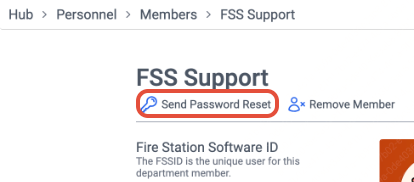
Reset a Member Password
- Follow the steps above to view a member.
- Click "Send Password Reset" under the name of the member.
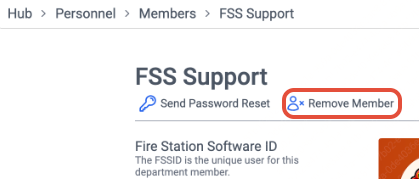
Remove a Member
- Follow the steps above to view a member.
- Click "Remove Member" under the name of the member.
When a member is removed, they will still have their FSSID, but they will not be able to access your department the next time they sign in. If they are currently signed in, they will still be able to access your department until they sign out, or their session expires.
Link a Firefighter
In Fire Station desktop, personnel information is saved in firefighter records. You must link a firefighter to a member in order to use the Apparatus Checks and Incident Reports apps.
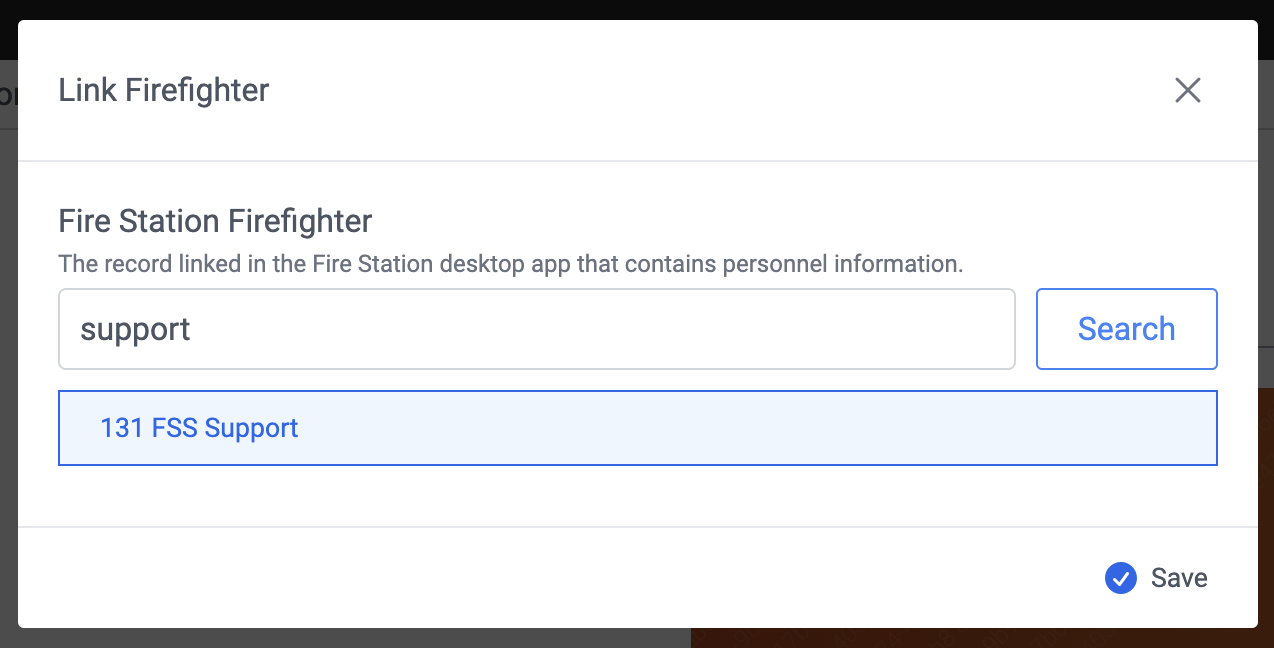
If you use a self-hosted, Microsoft Access database for Fire Station, the Department Hub cannot be used to link a firefighter to a member. Instead, you must link to a department member from menus in Fire Station Desktop.
Manage Member Permissions
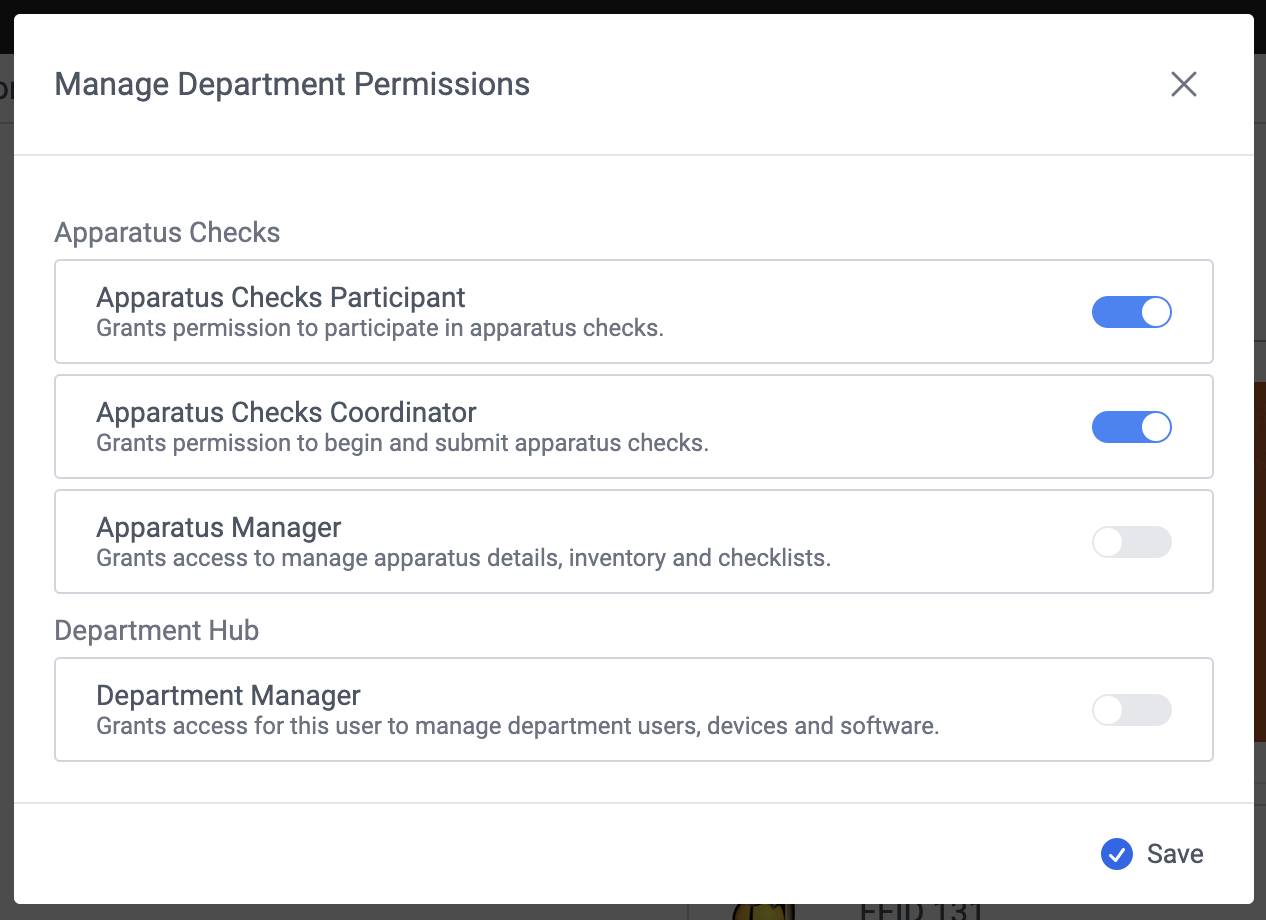
The permissions you see in the list depend on the software features that are licensed to your department
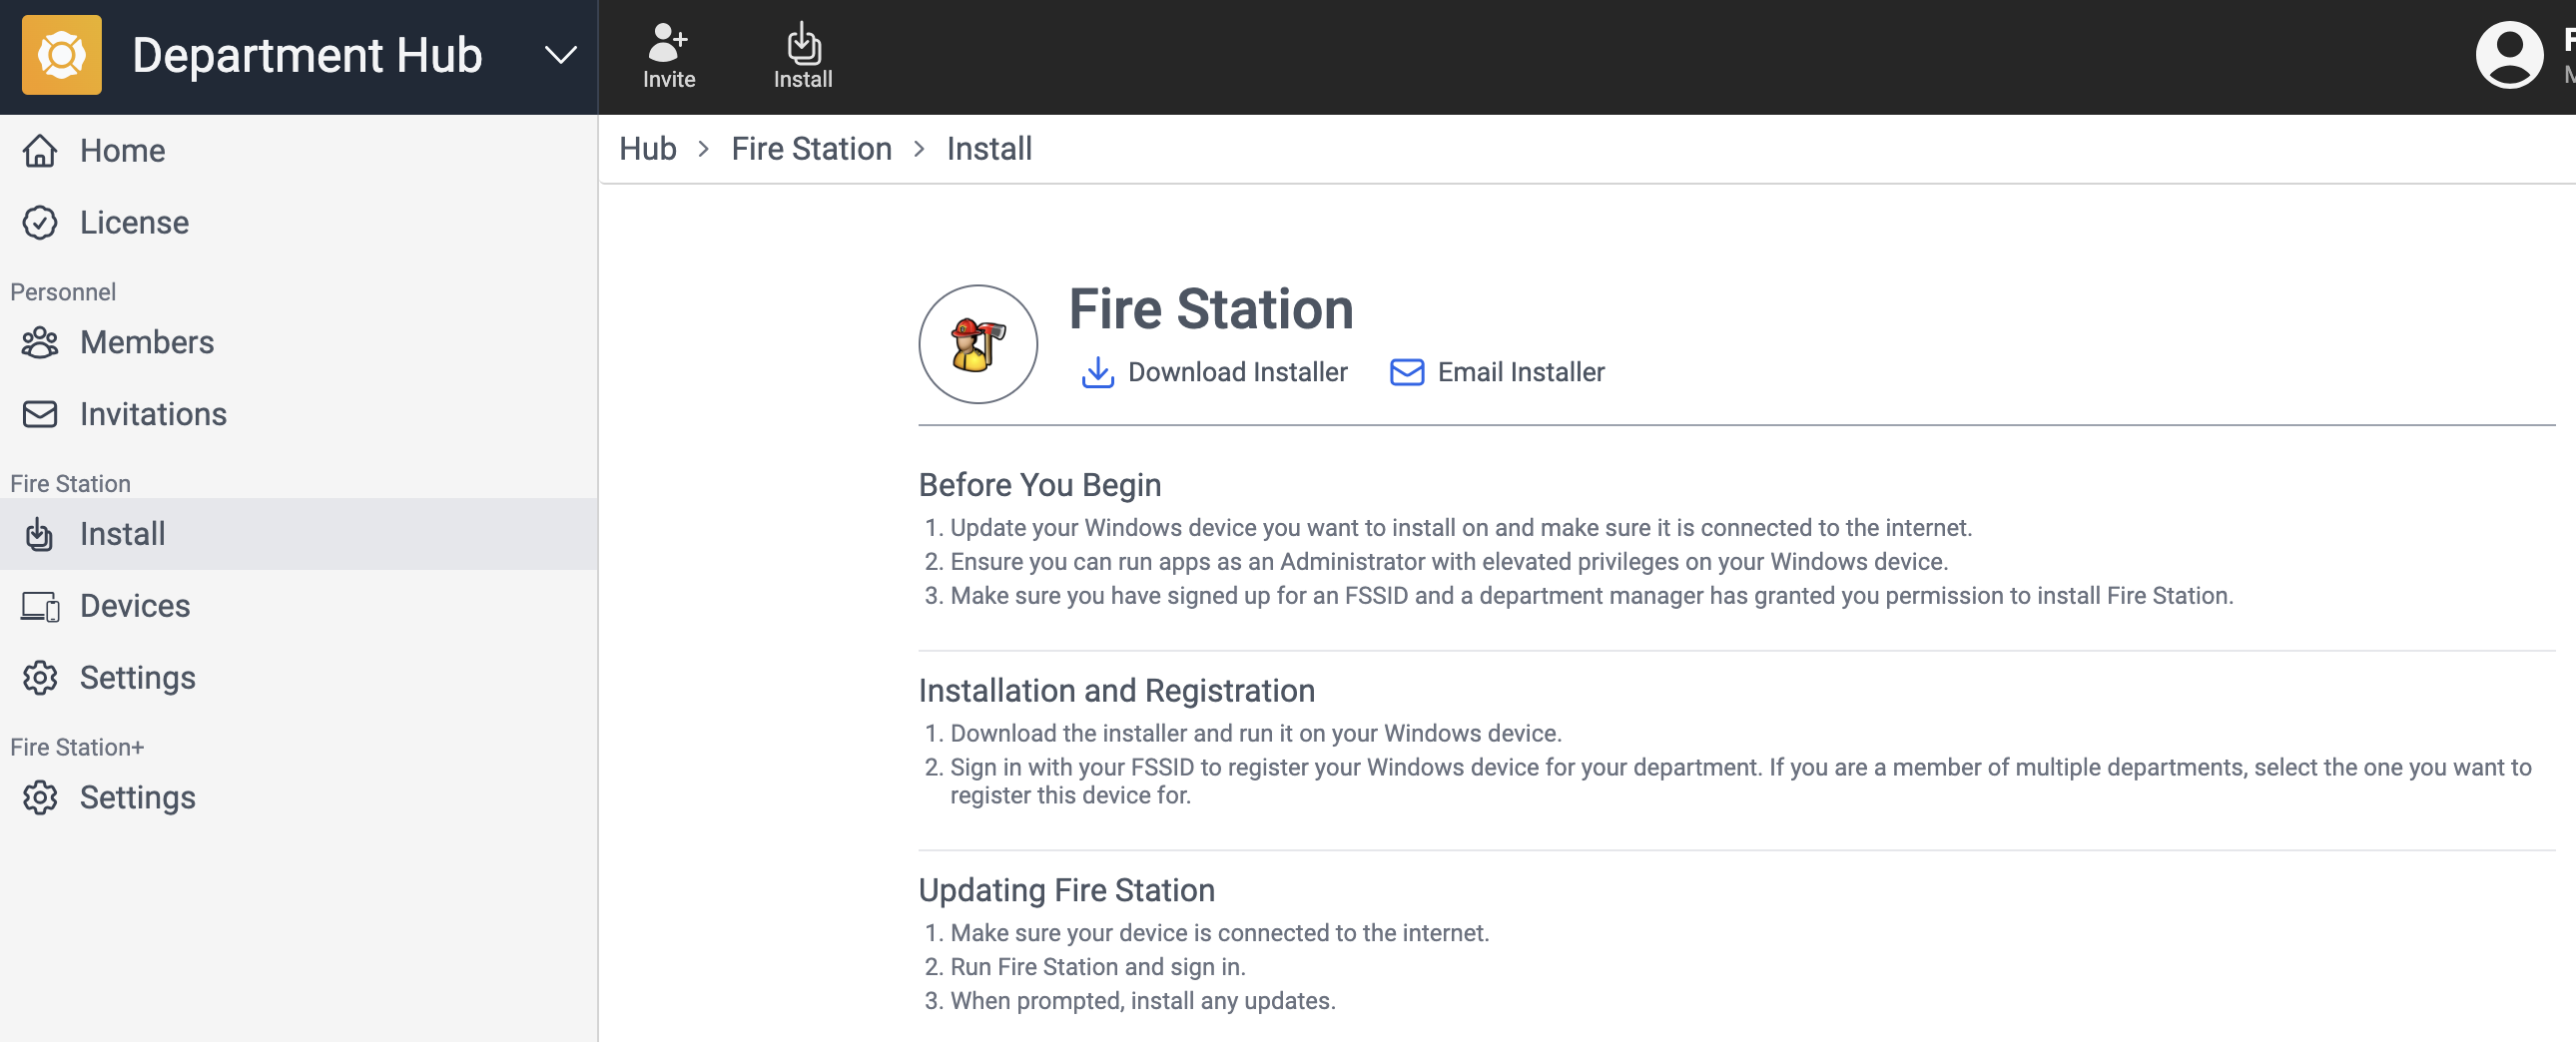
Install Fire Station Desktop
Download the Installer
You need Department Manager or Install Fire Station permissions to install Fire Station Desktop.
The first time you install Fire Station Desktop, you need to download the installer from the Department Hub.
- On a browser, go to https://hub.firestationsoftware.com and sign in.
- In the left menu click Install in the Fire Station section.
- Alternatively, click the "Install" shortcut button in the top bar.
- Click the "Download Installer" button to download the Fire Station Setup installer.
- Double click the downloaded file to run the Fire Station Setup installer and install Fire Station Desktop.
- Sign in with your FSSID to register your device and complete the installation.
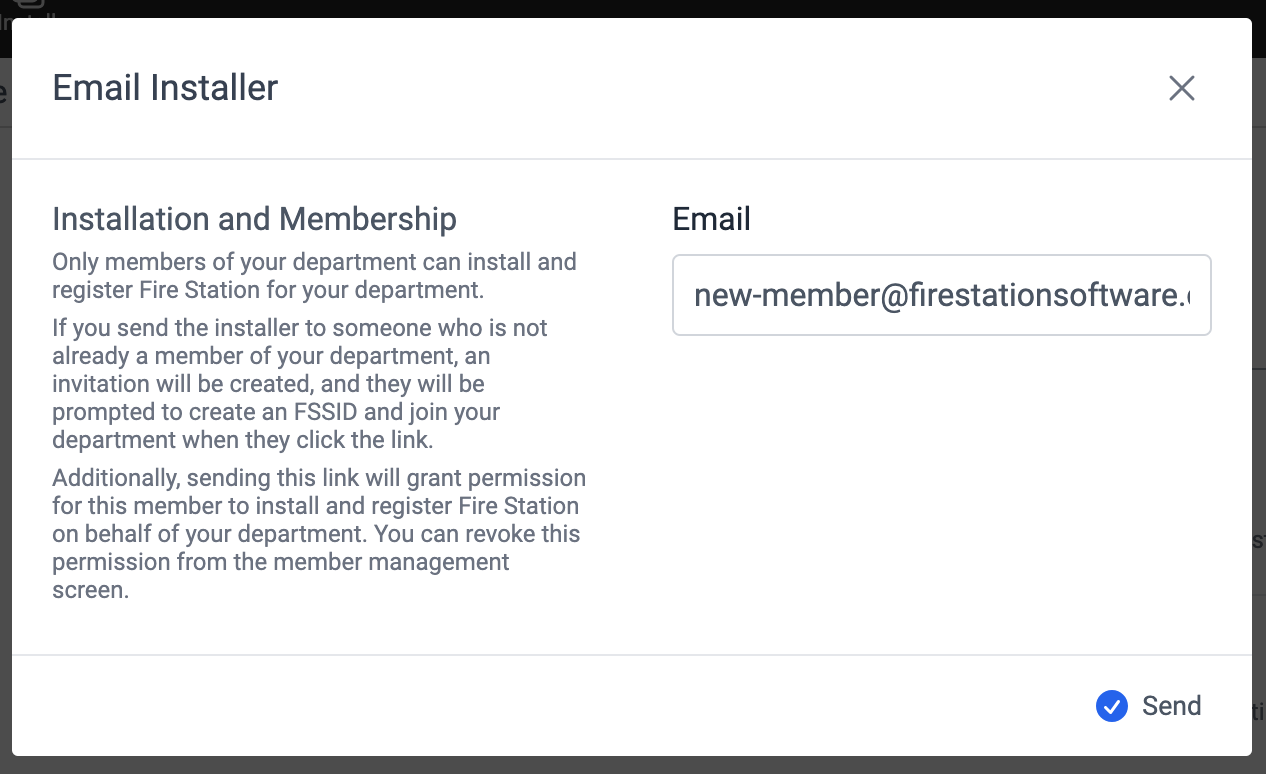
Email a Link to the Installer
You need Department Manager permissions to send installation links.
You can send an email with a link to the installation page in the Department Hub.
- On a browser, go to https://hub.firestationsoftware.com and sign in.
- In the left menu click Install in the Fire Station section.
- Alternatively, click the "Install" shortcut button in the top bar.
- Click the "Email Installer" button.
- Enter the email address of the person you want to send the installer to.
- Click the "Send" button.
If the installation link is sent to an email address that is not associated a member of your department, then the link will double as an invitation to join your department. After the recipient accepts the invitation, they will be redirected to the installation page.
Configure Fire Station Settings
You need Department Manager permissions to make these changes
Configure Software Updates
You can choose the version of Fire Station Desktop that you want your department members to install, or you can choose to let them install the latest version as soon as it is available.
- On a browser, go to https://hub.firestationsoftware.com and sign in.
- In the left menu click Settings in the Fire Station section.
- In the Software Updates section, click the "Configure" button on the right.
- Choose one of the two options:
- If you want your department members to install the latest updates as soon as they are available, then toggle "Enable Automatic Updates" on.
- If you want to keep department members on a specific version, then toggle "Enable Automatic Updates" off, and select the version you want to install.
- Click "Save".
Making changes to the settings will push a configuration update to all registered devices.

Configure Policies
You can configure policies that control the settings for your department when they install or sign in to Fire Station Desktop.
Sign In Policy
- FSSID Sign In Optional - allow department members to sign in with their FSSIDs or using their database user. This option is not allowed if you use Cloud Data Hosting (CDH).
- Require FSSID Sign In - require department members to sign in with their FSSIDs only. If selected, this option cannot be undone. Members will have 30 days to create FSSIDs for sign in.
Offline Installation Policy
- Offline Installations Not Allowed - requires an internet connection to install Fire Station on a device.
- Offline Installations Allowed - allows department members to download installation files and transfer them to a device and install them without connecting to the internet. This option is only available to customers that have been grandfathered in to legacy systems.
To change policies:
- On a browser, go to https://hub.firestationsoftware.com and sign in.
- In the left menu click Settings in the Fire Station section.
- In the Policies section, click one of the "Configure" buttons on the right.
- Adjust the policies and click "Save".
